
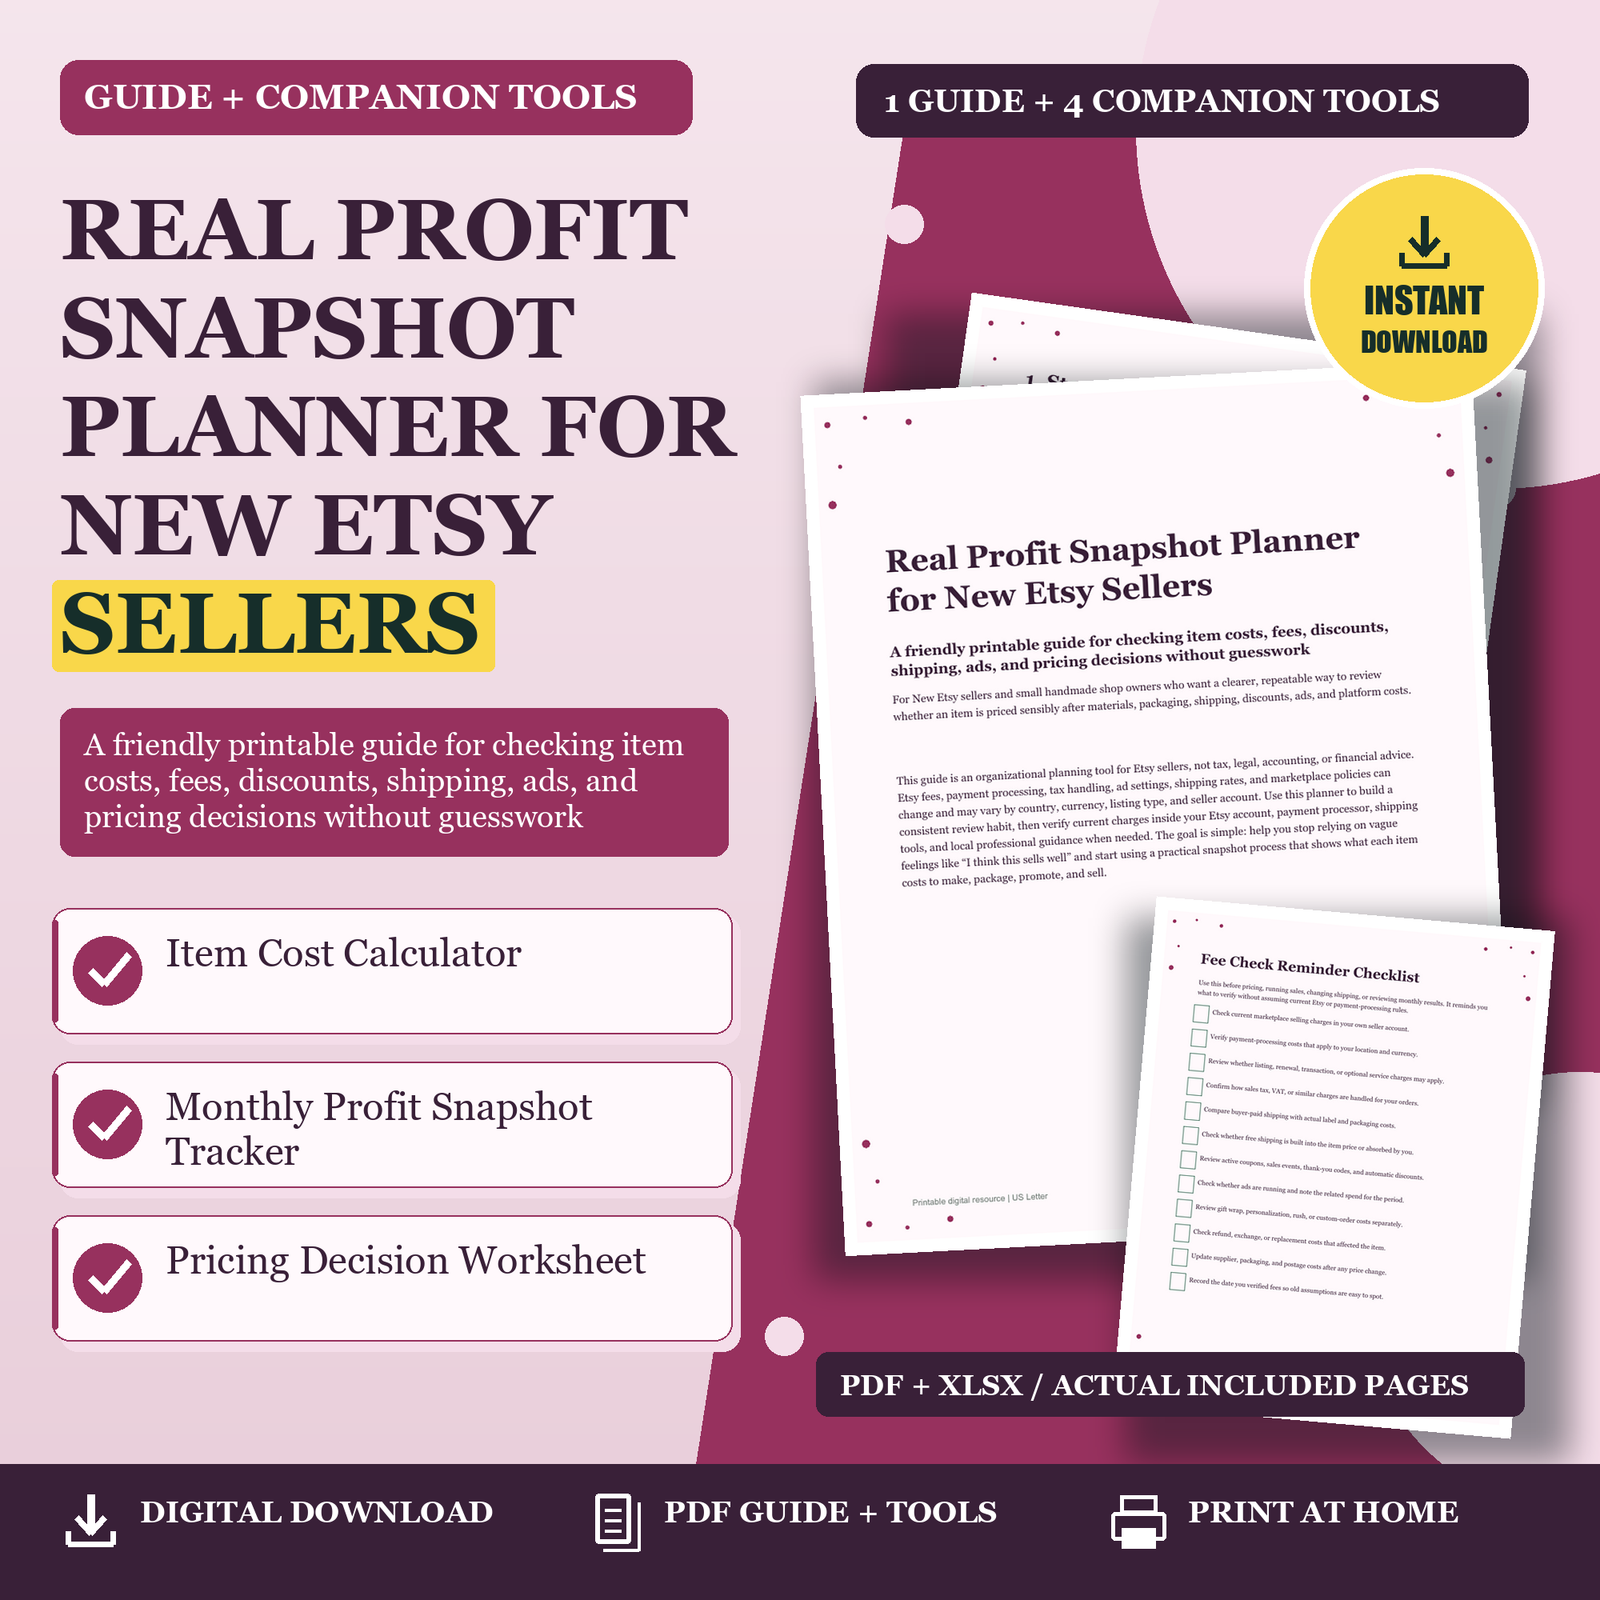
Real Profit Snapshot Planner for New Etsy: This guide is an organizational planning tool for Etsy sellers, not tax, legal, accounting, or financial advice. Etsy fees, payment processing, tax handling, ad settings, shipping rates, and marketplace policies can change and may vary by country, currency, listing type, and seller account. Use this planner to build a consistent review habit, then verify current charges inside your Etsy account, payment processor, shipping tools, and local professional guidance when needed. The goal is simple: help you stop relying on vague feelings like “I think this sells well” and start using a practical snapshot process that shows what each item costs to make, package, promote, and sell.
Real Profit Snapshot Planner for New Etsy: 1. Start With a Snapshot, Not a Perfect Accounting System
When you are new to selling on Etsy, it is easy to wait until you have a perfect spreadsheet, a bookkeeper, or months of sales before reviewing profit. The problem is that pricing decisions happen much sooner. You choose a listing price, decide whether to run a sale, buy packaging, offer upgraded shipping, or test ads long before your shop feels established. A profit snapshot gives you a quick, repeatable way to pause and ask, “Does this item still make sense after the obvious costs?” It is not a full accounting system. It is a practical sanity check that helps you notice weak spots before they become expensive habits.
Begin by choosing one item or one small group of similar items. For example, review your “8-ounce soy candle,” “custom pet portrait print,” or “set of three sticker sheets.” Write down the current selling price, the most common discount you offer, and the packaging you usually use. Then list every cost you can see: item materials, label, box, tissue, ribbon, shipping supplies, any paid gift wrap, ad spend connected to the item, and the marketplace or payment charges you need to verify. Keep this first pass simple. If you cannot find a number, mark it as “check” instead of guessing forever. The habit matters more than perfection.
2. Build the Real Item Cost Before You Think About Fees
Many sellers jump straight from material cost to selling price: “This necklace uses $6 of beads, so $22 should be fine.” But the actual item cost often includes more than the obvious ingredient. A handmade necklace may also use a clasp, jump rings, a jewelry card, a polishing cloth, a small box, a mailer, a printed care card, and a thank-you sticker. A print seller may need paper, ink, backing board, sleeve, label, rigid mailer, and occasional replacement blades or printer maintenance. The Item Cost Calculator helps you list each physical input by quantity and unit cost so you can see the line totals and grand total without mental math.
Use small units that match how you buy supplies. If you buy 100 mailers for $35, your unit cost is the cost of one mailer. If you use half a sheet of specialty paper, record the quantity as 0.5 and the unit cost as one full sheet. If you are unsure, write a note on the printed page and come back when you have the receipt. Do not forget packaging that feels “too small to count.” A sticker, glassine bag, or extra label can seem tiny, but repeated across many orders it becomes part of your real selling cost. After you calculate the item and packaging total, use that number as the base for your pricing review.
3. Check Fees, Shipping, Discounts, and Ads Separately
Fees and selling charges can feel confusing because they do not all behave the same way. Some charges may relate to listing or selling on the platform, some to payment processing, some to advertising, some to shipping labels, and some to optional services such as gift wrap. Rules can change and may differ based on location, currency, tax handling, subscription choices, and the way the order was placed. For that reason, this guide does not ask you to memorize evergreen fee numbers. Instead, it gives you a reminder system: identify which charges might apply, verify the current details in your own seller account, and record them consistently in your snapshot.
Separate each category before deciding whether an item is profitable. Shipping is a good example. If the buyer pays shipping, you still need to compare what they paid with what the label and packaging actually cost. If you offer “free shipping,” the shipping cost usually needs to be covered by the item price or absorbed by your margin. Discounts deserve the same attention. A listing that looks healthy at full price may be weak during a 20% sale, especially if ads are also running. Ads should not be treated as invisible. If you spend to promote a listing, note it in the Monthly Profit Snapshot Tracker so you can decide whether the exposure is worth the cost.
4. Use a Simple Pricing Decision Workflow
Once you have item cost, common selling price, and checked selling charges, you can make a clearer pricing decision. The purpose is not to force every item into the same formula. Different products have different roles. A low-margin sticker might introduce buyers to your shop. A custom item may need more room because it takes extra messaging and revision time. A seasonal item may carry higher packaging or ad costs during a short sales window. The Pricing Decision Worksheet gives you one place to compare the current price, cost snapshot, concern, and next action.
Try using three decision labels: keep, adjust, or investigate. “Keep” means the price appears workable based on your current snapshot and no urgent change is needed. “Adjust” means you see a specific action, such as raising the price, reducing packaging cost, changing a sale discount, charging separately for gift wrap, or bundling items differently. “Investigate” means the listing may be fine, but you need missing information before deciding. For example, you may need to verify current marketplace charges, check whether ads are attached to the listing, compare shipping label costs across package sizes, or review how often buyers use a coupon. This prevents emotional pricing swings based on one order or one slow week.
5. Review Monthly Patterns Instead of One Order at a Time
A single sale can be misleading. One order might include a coupon, upgraded shipping, a rush request, or an unusual shipping zone. Another order might be full price with no extras. If you judge your entire shop from one transaction, you may overcorrect. A monthly snapshot helps you see patterns while they are still fresh. At the end of each month, choose a few categories to review: best-selling items, items with frequent discounts, items advertised that month, orders with expensive packaging, or products that felt busy but did not seem to leave much money behind.
Use the Monthly Profit Snapshot Tracker as a recordkeeping table, not as a promise of exact accounting results. Write the month, the item or shop area, the sales collected, the costs you noted, and your review action. For example, under “Review Action,” you might write “raise mug price before next restock,” “test smaller mailer,” “pause ad for two weeks,” or “verify fee settings.” This creates a decision trail. Later, if your shop grows, you will be able to see why you changed a price or discontinued a product. The monthly habit also makes tax-season organization less chaotic because you have already trained yourself to notice receipts, platform charges, refunds, and shipping expenses.
Choose one useful next step. Review the related product details, included formats and license before choosing the tools for your needs.