
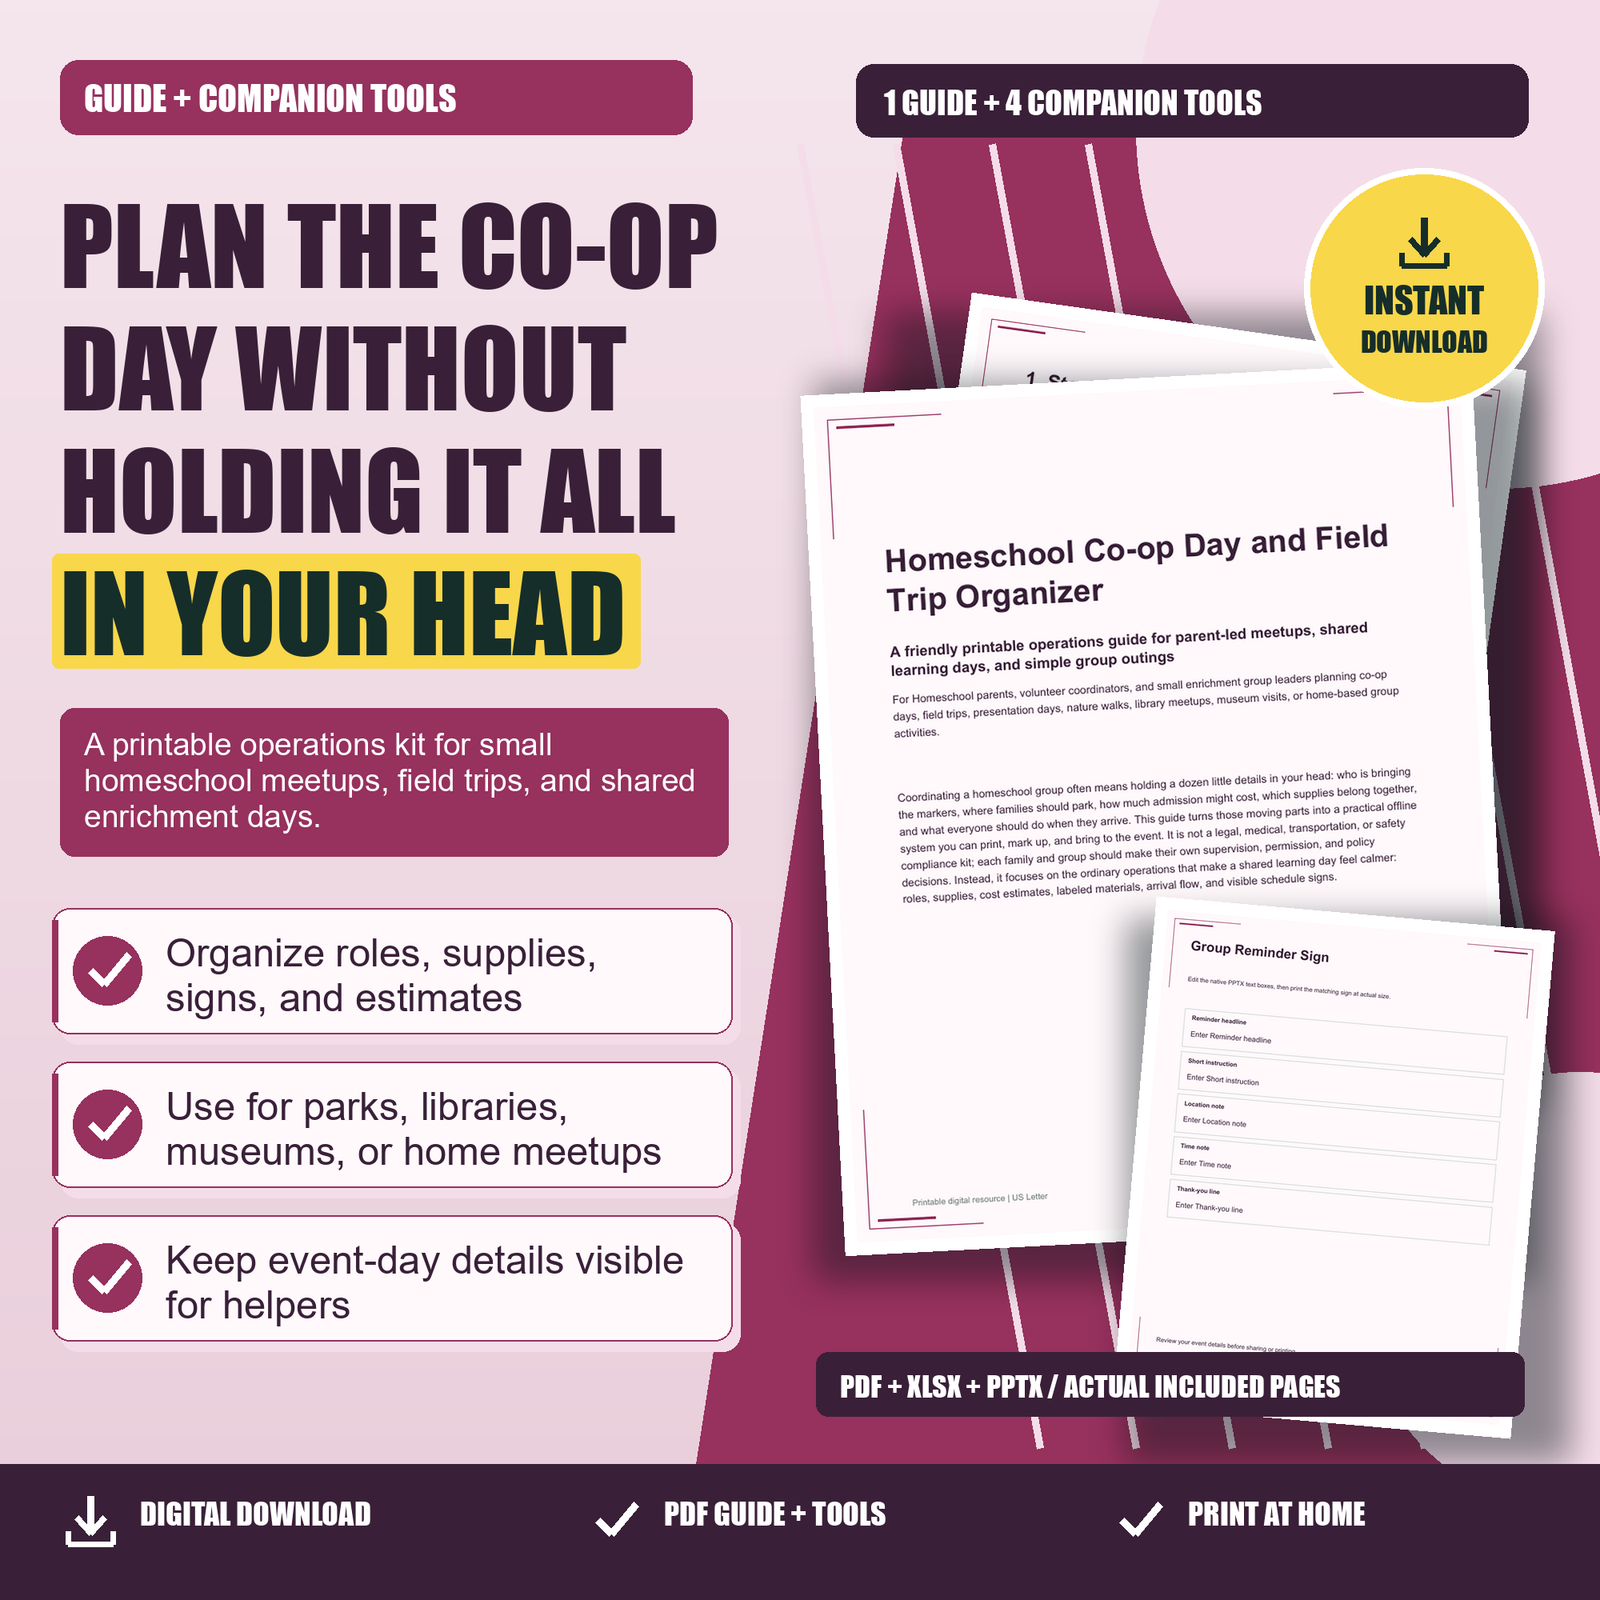
Start by defining the event flow, then assign small roles such as greeter, setup helper, station helper, timekeeper, and cleanup lead. List supplies by role or station, label shared bins, and post arrival and schedule signs so families do not have to search through messages on the day.
1. Start With the Event Shape Before the Details
Before asking families to sign up or bring supplies, define the shape of the day in plain language. A co-op morning at a library room needs different planning than a nature walk, museum visit, presentation afternoon, or home meetup. Write one sentence that names the purpose, place, age range, and basic flow. For example: “Families will meet at the park pavilion for a 90-minute nature journaling meetup with a short welcome, two observation stations, snack time, and cleanup.” This sentence becomes your planning filter. If a task does not support that purpose, it can probably wait.
Next, choose the limits that keep planning realistic. Decide the maximum number of families, the arrival window, the planned start and end time, whether siblings are included, and what supplies are shared versus family-provided. Keep these decisions visible when using the Co-op Day Role and Supply Checklist so you are not adding unnecessary jobs. For instance, if the event is a simple playground meetup, you may only need a greeter, activity lead, snack point person, and cleanup helper. If it is a presentation day, you may also need a timekeeper, display table helper, and room reset person.
Worked example
Hypothetical inputs: a 10:00–11:30 park nature meetup with 8 families, two activity stations, and shared clipboards. The coordinator assigns one greeter, one setup helper, two station helpers, one timekeeper, and one cleanup lead; labels bins as WELCOME TABLE, NATURE WALK KIT, and CLEANUP ITEMS; then posts an arrival sign at the pavilion and a schedule sign showing welcome, stations, snack, and cleanup.
2. Assign Roles That Match Real Parent Availability
Volunteer planning works best when roles are small, specific, and easy to say yes to. Instead of asking for “help with the co-op day,” name concrete jobs: arrival greeter, supply table setup, activity station helper, snack setup, photo-free zone reminder if your group uses one, cleanup lead, or lost-and-found holder. The Co-op Day Role and Supply Checklist is designed to help you connect each role with the supplies and timing needed for that job. A person who can only stay for the first 20 minutes might be perfect for greeting and directing families, while someone staying to the end may be better for cleanup.
Avoid giving one person all the invisible work. For a field trip, the coordinator might handle the group reservation, but another parent can collect name tags, another can bring clipboards, and another can stand near the entrance sign. For a home meetup, the host should not automatically be responsible for every supply. Use the checklist to separate hosting, teaching, setup, and closing tasks.
3. Build a Simple Supply System You Can Reuse
Shared supplies become easier to manage when every container has a purpose. Sort materials by event function rather than by broad category. For example, a “Welcome Table” bin might hold pens, name tags, tape, a printed schedule, and a small sign. A “Nature Walk” bin might hold magnifiers, pencils, clipboards, field notebooks, and extra bags. A “Presentation Day” bin might hold table signs, timers, display cards, tape, and a small basket for returned items. The Group Supply Labels and Inventory resource helps you name containers clearly and record what belongs inside each one.
When packing, think in stations. Ask: What does the greeter need? What does the activity leader need? What does cleanup need? Labeling by station reduces mid-event searching. If a parent helper is told, “Please take the Activity Station 2 bin to the blue table,” they do not need to know your whole system. The label does the explaining.
4. Estimate Shared Costs Without Overcomplicating Money
Many group events have small costs: admission, room rental, printed materials, supplies, parking, group activity fees, or shared snacks. The Field Trip Cost Estimate Calculator gives you a basic quantity-times-unit-cost structure so you can draft an estimate before asking families to commit. It does not process payments, split bills automatically, or provide financial advice. Its purpose is to help you see the likely total and make the cost conversation clearer.
Start with the expenses you can verify, such as admission per participant or a flat room fee. Then list optional or uncertain costs separately, such as extra craft supplies or parking. For example, if a museum charges $6 per student and you expect 12 students, the line cost is 12 × $6 = $72. If a room rental is one flat cost, enter quantity 1 and the unit cost as the rental amount. If you are estimating snacks, use a realistic quantity such as 3 packs of napkins or 2 boxes of crackers rather than a vague “snacks” line.
5. Make Arrival and Transitions Easy to Understand
The first ten minutes often set the tone for a group day. Families may arrive with toddlers, strollers, bags, questions, or different expectations. Clear arrival instructions reduce repeated explanations. Before the event, decide where families should go first, what they should do when they get there, and what they should wait for. A simple flow might be: park, check in at the welcome table, add name tags, place supplies in the labeled bin, then gather near the activity area.
Use the Arrival and Schedule Announcement Signs to make the plan visible. One sign can point people to the meeting spot, another can show the day’s schedule, and another can give a short reminder such as “Please keep pathway clear” or “Gather here at 10:15.” Keep wording friendly and direct. Signs are especially helpful at parks, libraries, community rooms, and home meetups where not every family knows the space.
Try the steps with one real example of your own. See the related Printably product for the tools and instructions included.