
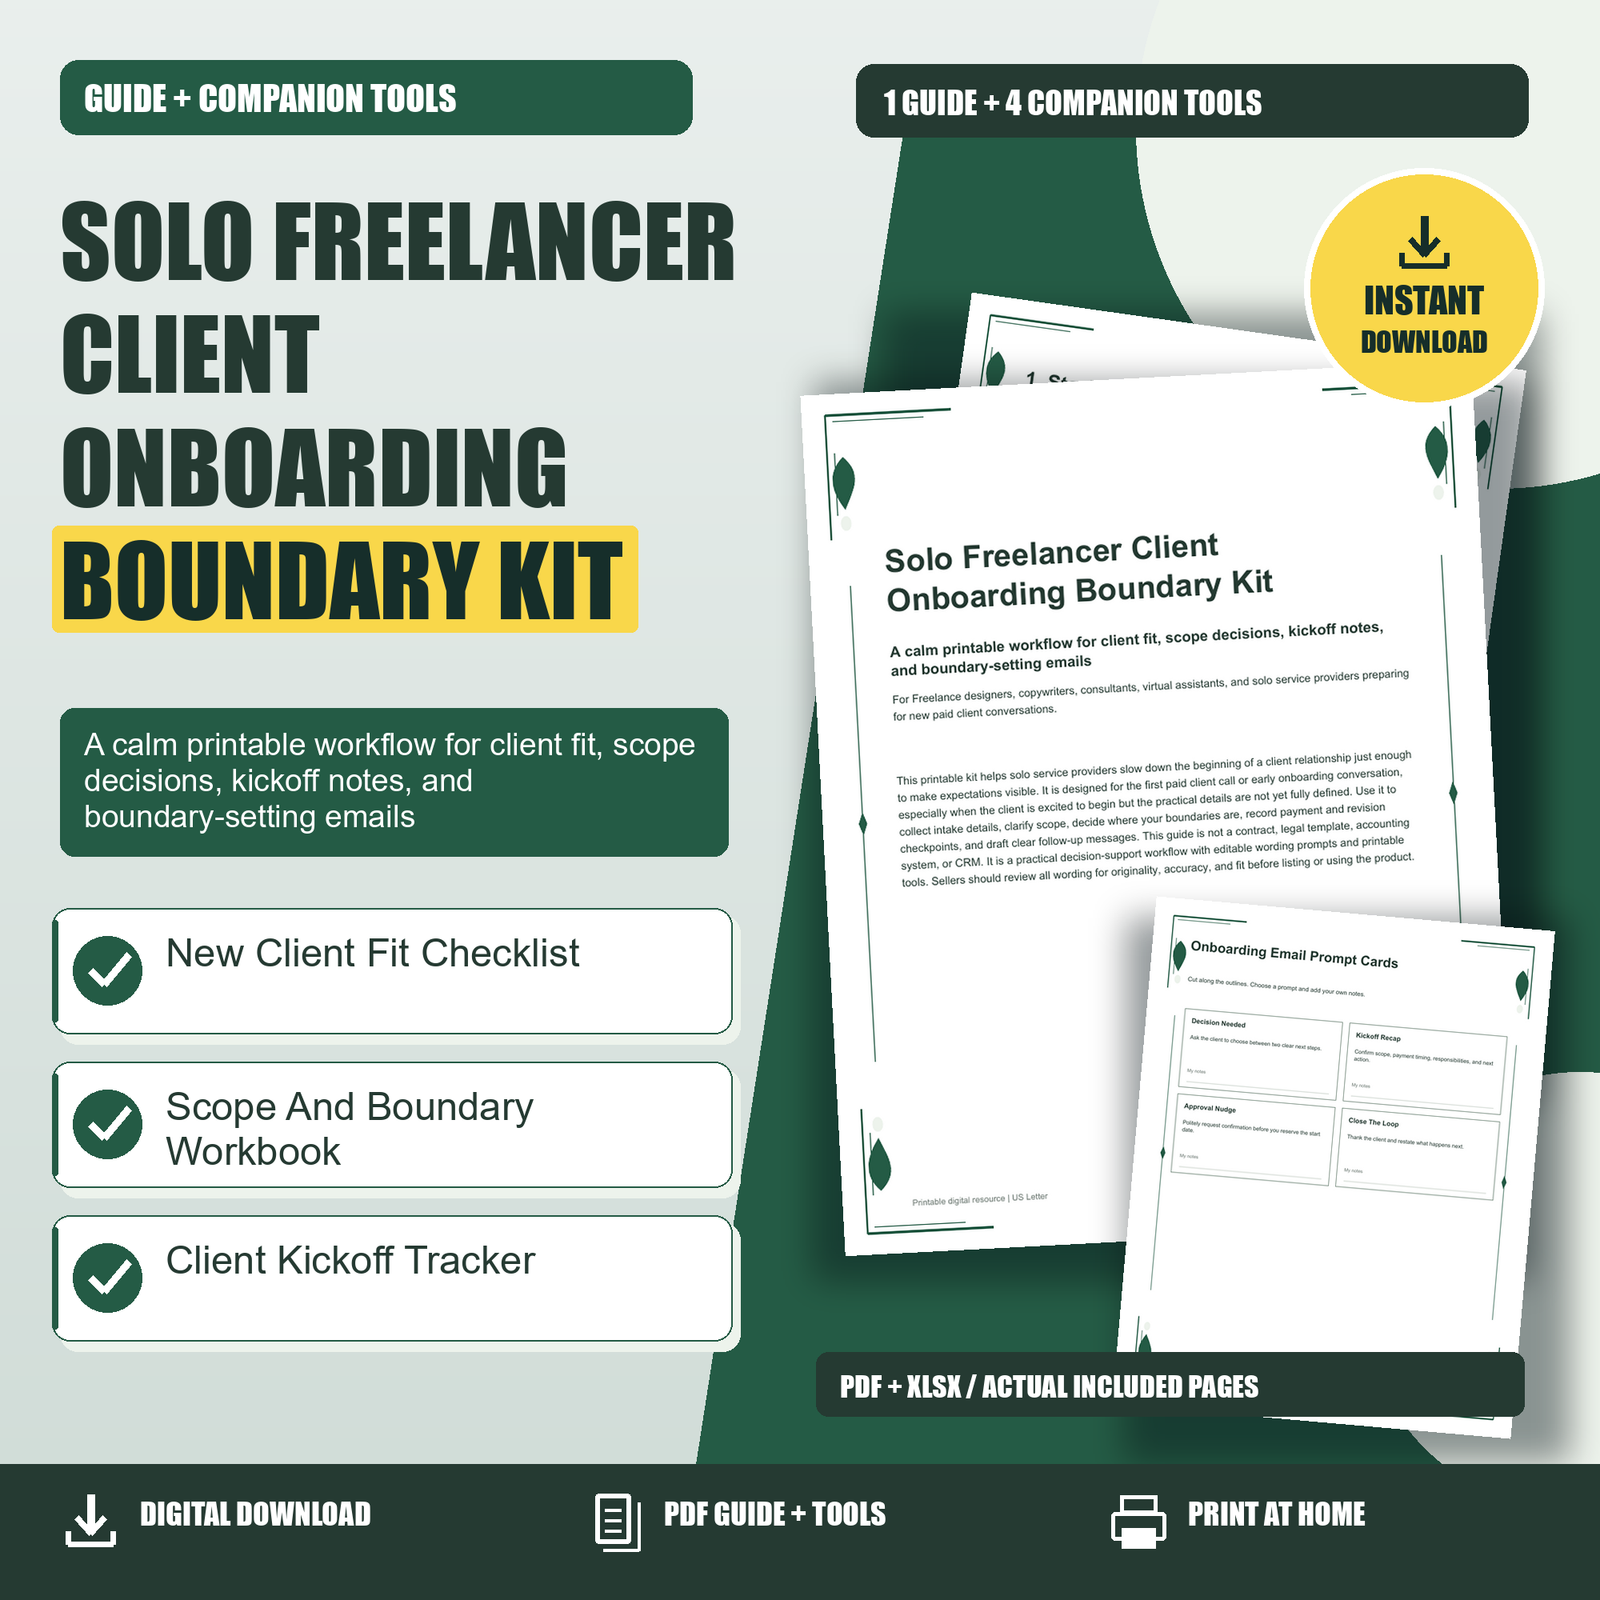
Solo Freelancer Client Onboarding Boundary Kit: This printable kit helps solo service providers slow down the beginning of a client relationship just enough to make expectations visible. It is designed for the first paid client call or early onboarding conversation, especially when the client is excited to begin but the practical details are not yet fully defined. Use it to collect intake details, clarify scope, decide where your boundaries are, record payment and revision checkpoints, and draft clear follow-up messages. This guide is not a contract, legal template, accounting system, or CRM. It is a practical decision-support workflow with editable wording prompts and printable tools. Sellers should review all wording for originality, accuracy, and fit before listing or using the product.
Solo Freelancer Client Onboarding Boundary Kit: 1. Start With Client Fit Before You Start With Tasks
A smooth onboarding process begins before you say yes to the work. Many freelancers jump directly into deliverables because the client sounds friendly, the project sounds simple, or the timeline seems urgent. The better first move is to pause and check whether the opportunity fits your service, capacity, communication style, and payment expectations. Client fit does not mean judging the person; it means deciding whether the working conditions support good work. A client may have a strong project and still be a poor fit if they need daily access, unlimited revisions, a rushed turnaround, or unclear approval authority.
Use the New Client Fit Checklist before or during the first paid call. For example, a copywriter might confirm whether the client has brand notes, a single decision-maker, and a launch date that allows enough drafting time. A virtual assistant might check whether the client knows which tasks they want delegated and whether they can provide logins or standard operating procedures. If several items are uncertain, do not treat that as failure. Treat it as your agenda. Say, “Before I confirm the start date, I want to clarify a few working details so I can give you a realistic next step.” This keeps the tone calm while protecting your time.
2. Turn Vague Requests Into Defined Scope
Scope is the difference between “help me with my website” and “write five service-page drafts of up to 800 words each using the client’s existing brand questionnaire.” New clients often describe outcomes, not the exact work required to reach those outcomes. Your job during onboarding is to translate the desired outcome into a clear working container. That container should include what is included, what is not included, what the client must provide, how feedback will be handled, and what happens if the project changes direction.
Use plain language. Instead of saying, “Scope creep is billable,” try, “This project includes two homepage layout concepts and one revision round on the selected direction. If you want to explore a third concept later, I can quote that as an added step.” For consultants, the boundary might be time-based: “This package includes one strategy call and written recommendations, not implementation support.” For designers, it might be asset-based: “The logo package includes final files for the approved design, not separate sub-brand marks.” The Scope And Boundary Workbook gives you space to convert client requests into specific included and excluded items so the follow-up email is easier to write.
3. Discuss Payment Timing Without Making It Awkward
Payment conversations feel easier when they are part of the process rather than a special uncomfortable announcement. In onboarding, payment timing should be discussed alongside timeline, deliverables, and next steps. This kit does not replace accounting software or professional financial guidance, and it cannot guarantee payment. What it can do is help you name your payment checkpoint clearly before the client assumes work has already begun. The key is to avoid vague phrases like “we can sort payment later” if you know you require payment before scheduling or delivery.
A simple structure is: deposit or first payment, work start condition, milestone or final payment, and what happens before files or final recommendations are delivered. For example: “Once the invoice is paid and the questionnaire is complete, I’ll reserve the project start date.” Or: “The final presentation is scheduled after the second payment checkpoint is complete.” If your process is different, adapt the wording to match it. The point is consistency. New clients should understand when they need to act, what you need from them, and when your work begins. Record these decisions in the Client Kickoff Tracker so you are not relying on memory later.
4. Set Revision Expectations Before Feedback Arrives
Revision boundaries are much easier to explain before anyone is disappointed. Many service providers avoid the topic because they want to sound flexible. Flexibility is helpful, but unlimited openness can create confusion. A revision round should have a purpose, a deadline, and a decision-maker. You might define a round as one collected set of feedback on a draft, concept, document, or recommendation. This prevents scattered messages from becoming five unofficial rounds of changes.
Give clients guidance on how to provide useful feedback. For example, ask them to collect comments in one document, identify must-change items separately from preferences, and confirm who has final approval. A designer might say, “Please send one consolidated feedback note within five business days so I can apply the included revision round efficiently.” A consultant might say, “After you review the recommendations, the included follow-up call is for clarification, not a full new strategy.” These statements are not harsh; they are service instructions. The more clearly you explain feedback, the easier it is for clients to participate in the process.
5. Create Communication Boundaries That Feel Professional
Communication boundaries are not only about protecting your calendar. They also help the client know where to send information and when to expect a reply. Without a communication plan, clients may use email, text, direct messages, shared documents, and meeting chat all at once. This can cause missed details and unnecessary urgency. During onboarding, choose your primary communication channel, typical response window, meeting expectations, and emergency limits if applicable to your service.
Keep the wording warm and direct. Try: “To keep everything organized, please send project updates by email rather than direct message. I typically respond within one business day.” Or: “I schedule project calls in advance so I can protect production time between meetings.” If you work part-time or keep specific office hours, state them early. You do not need to over-explain. The Onboarding Email Prompt Cards provide short message starters for common moments such as welcoming the client, confirming scope, requesting missing information, and redirecting out-of-scope requests. Use them as drafting prompts, then personalize the message so it sounds like you.
Choose one useful next step. Review the related product details, included formats and license before choosing the tools for your needs.